Footing Forms
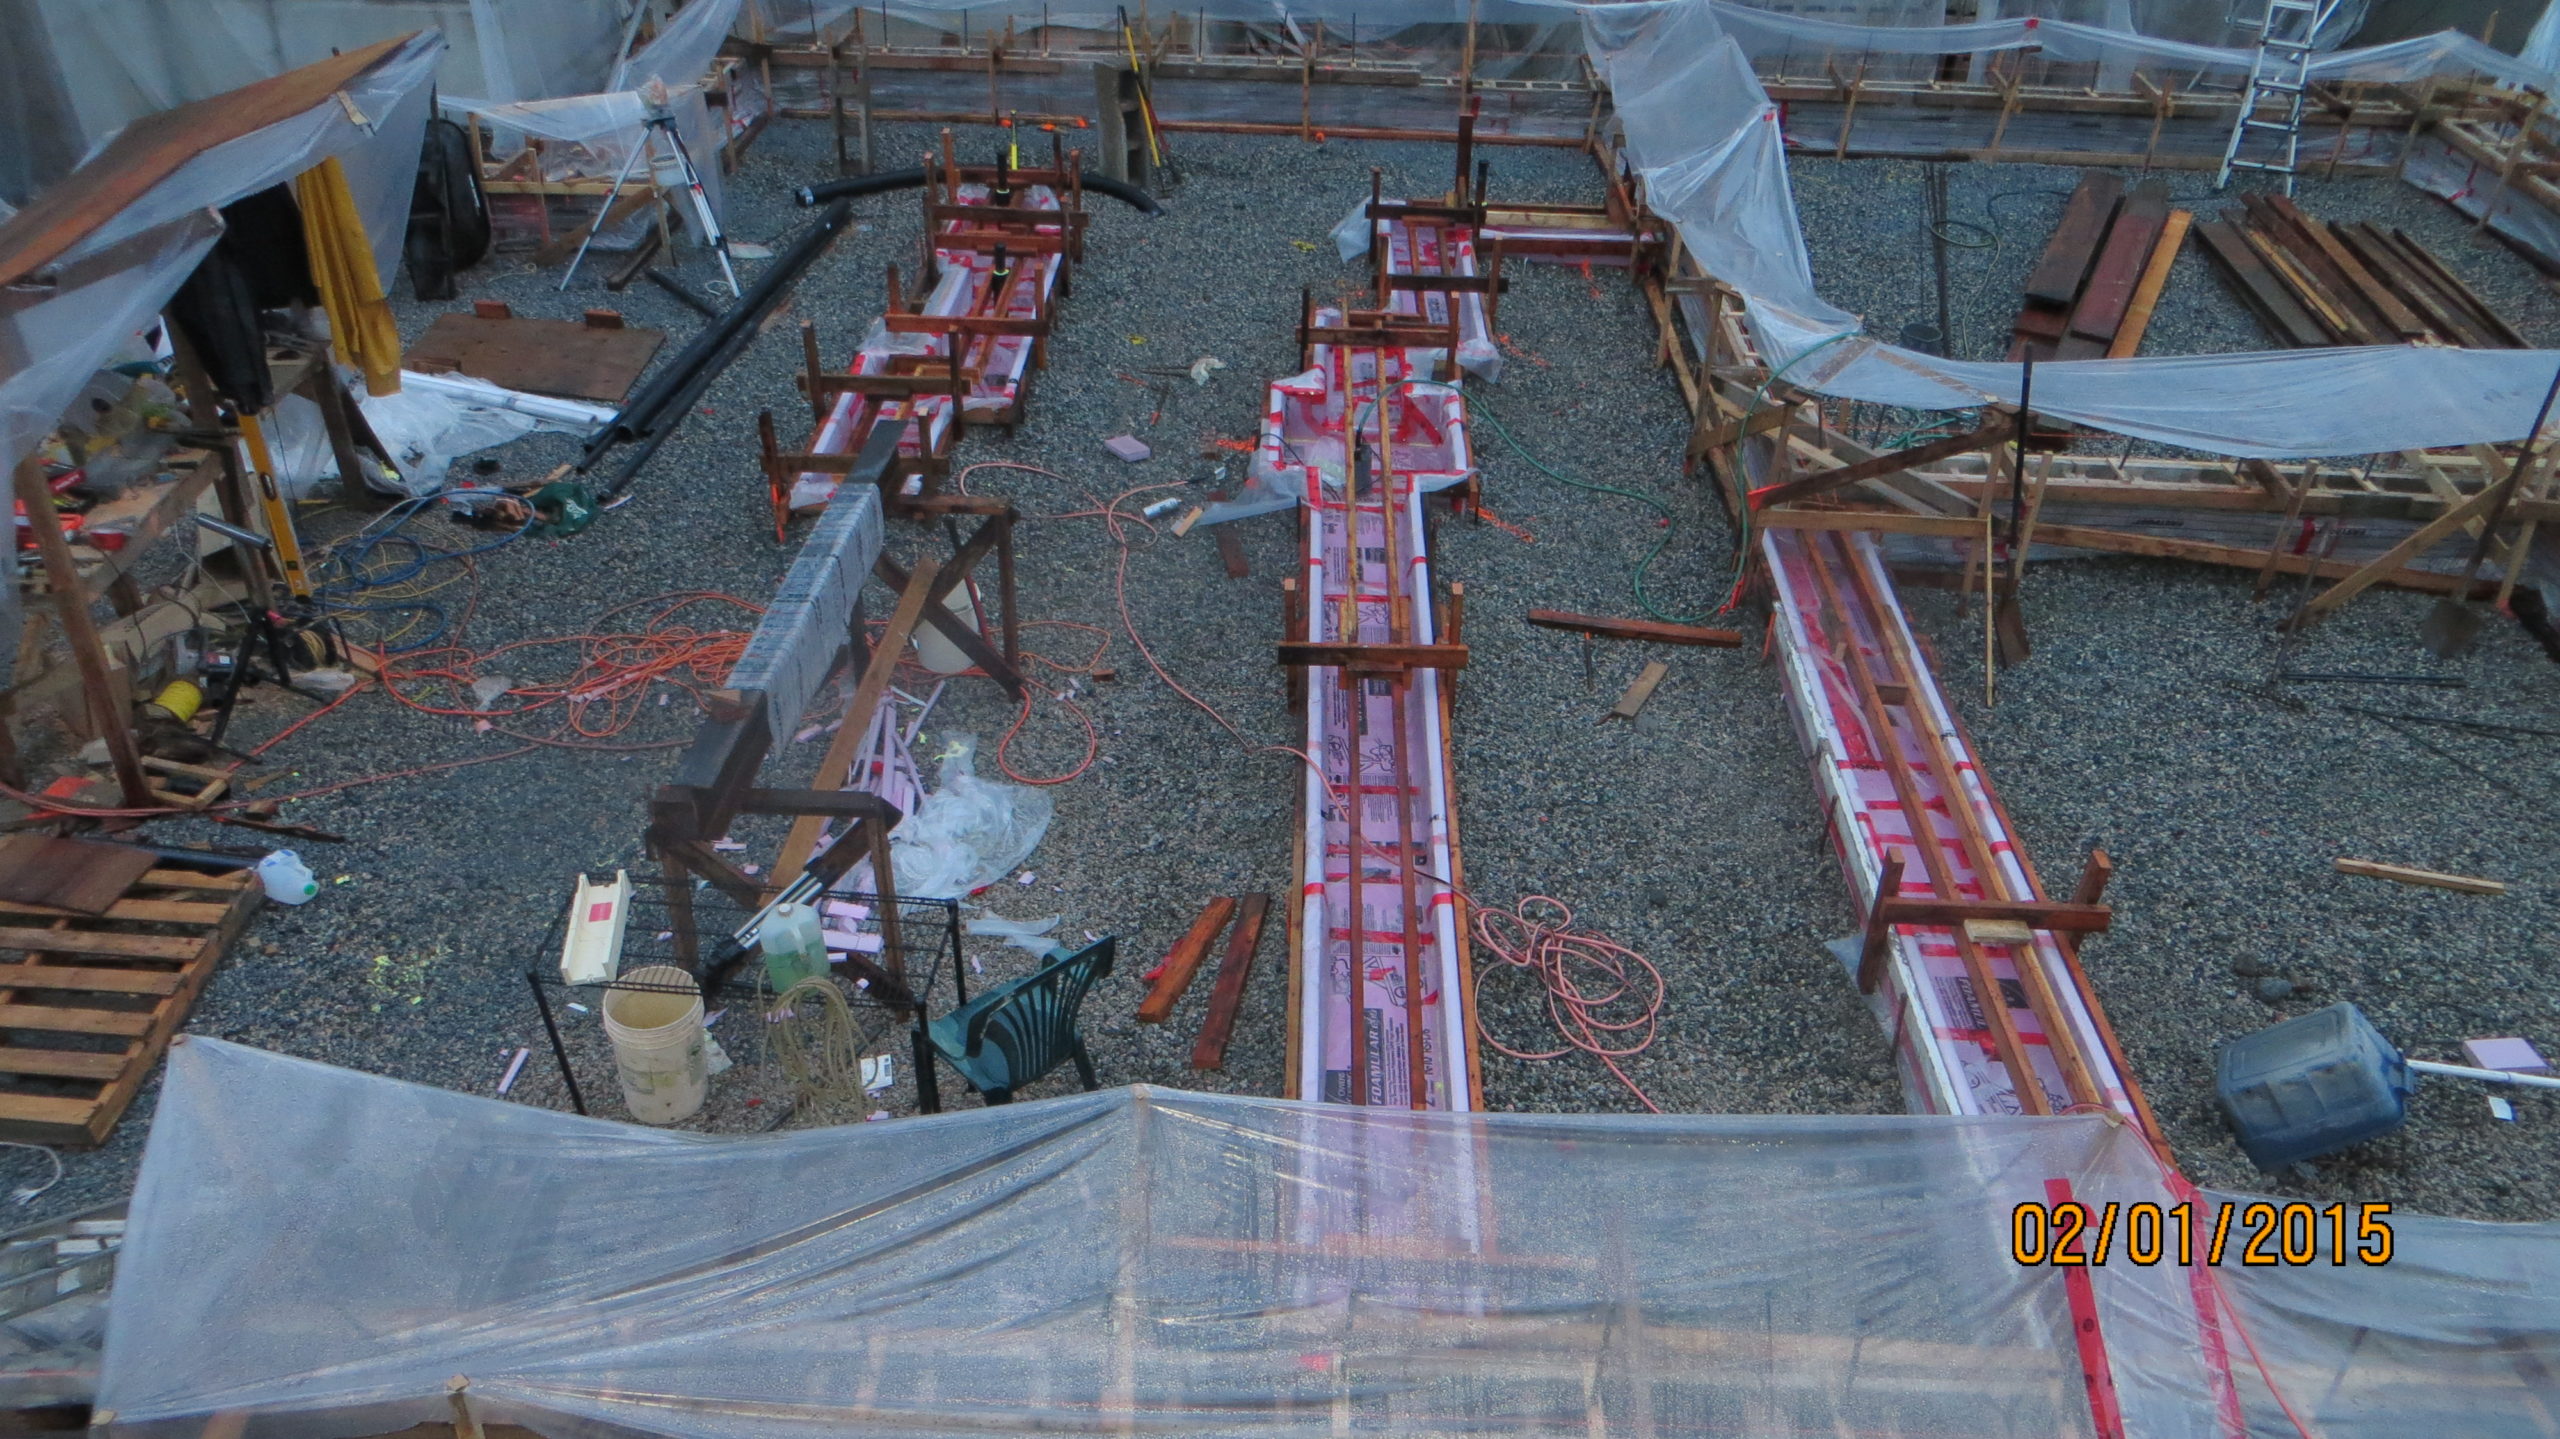
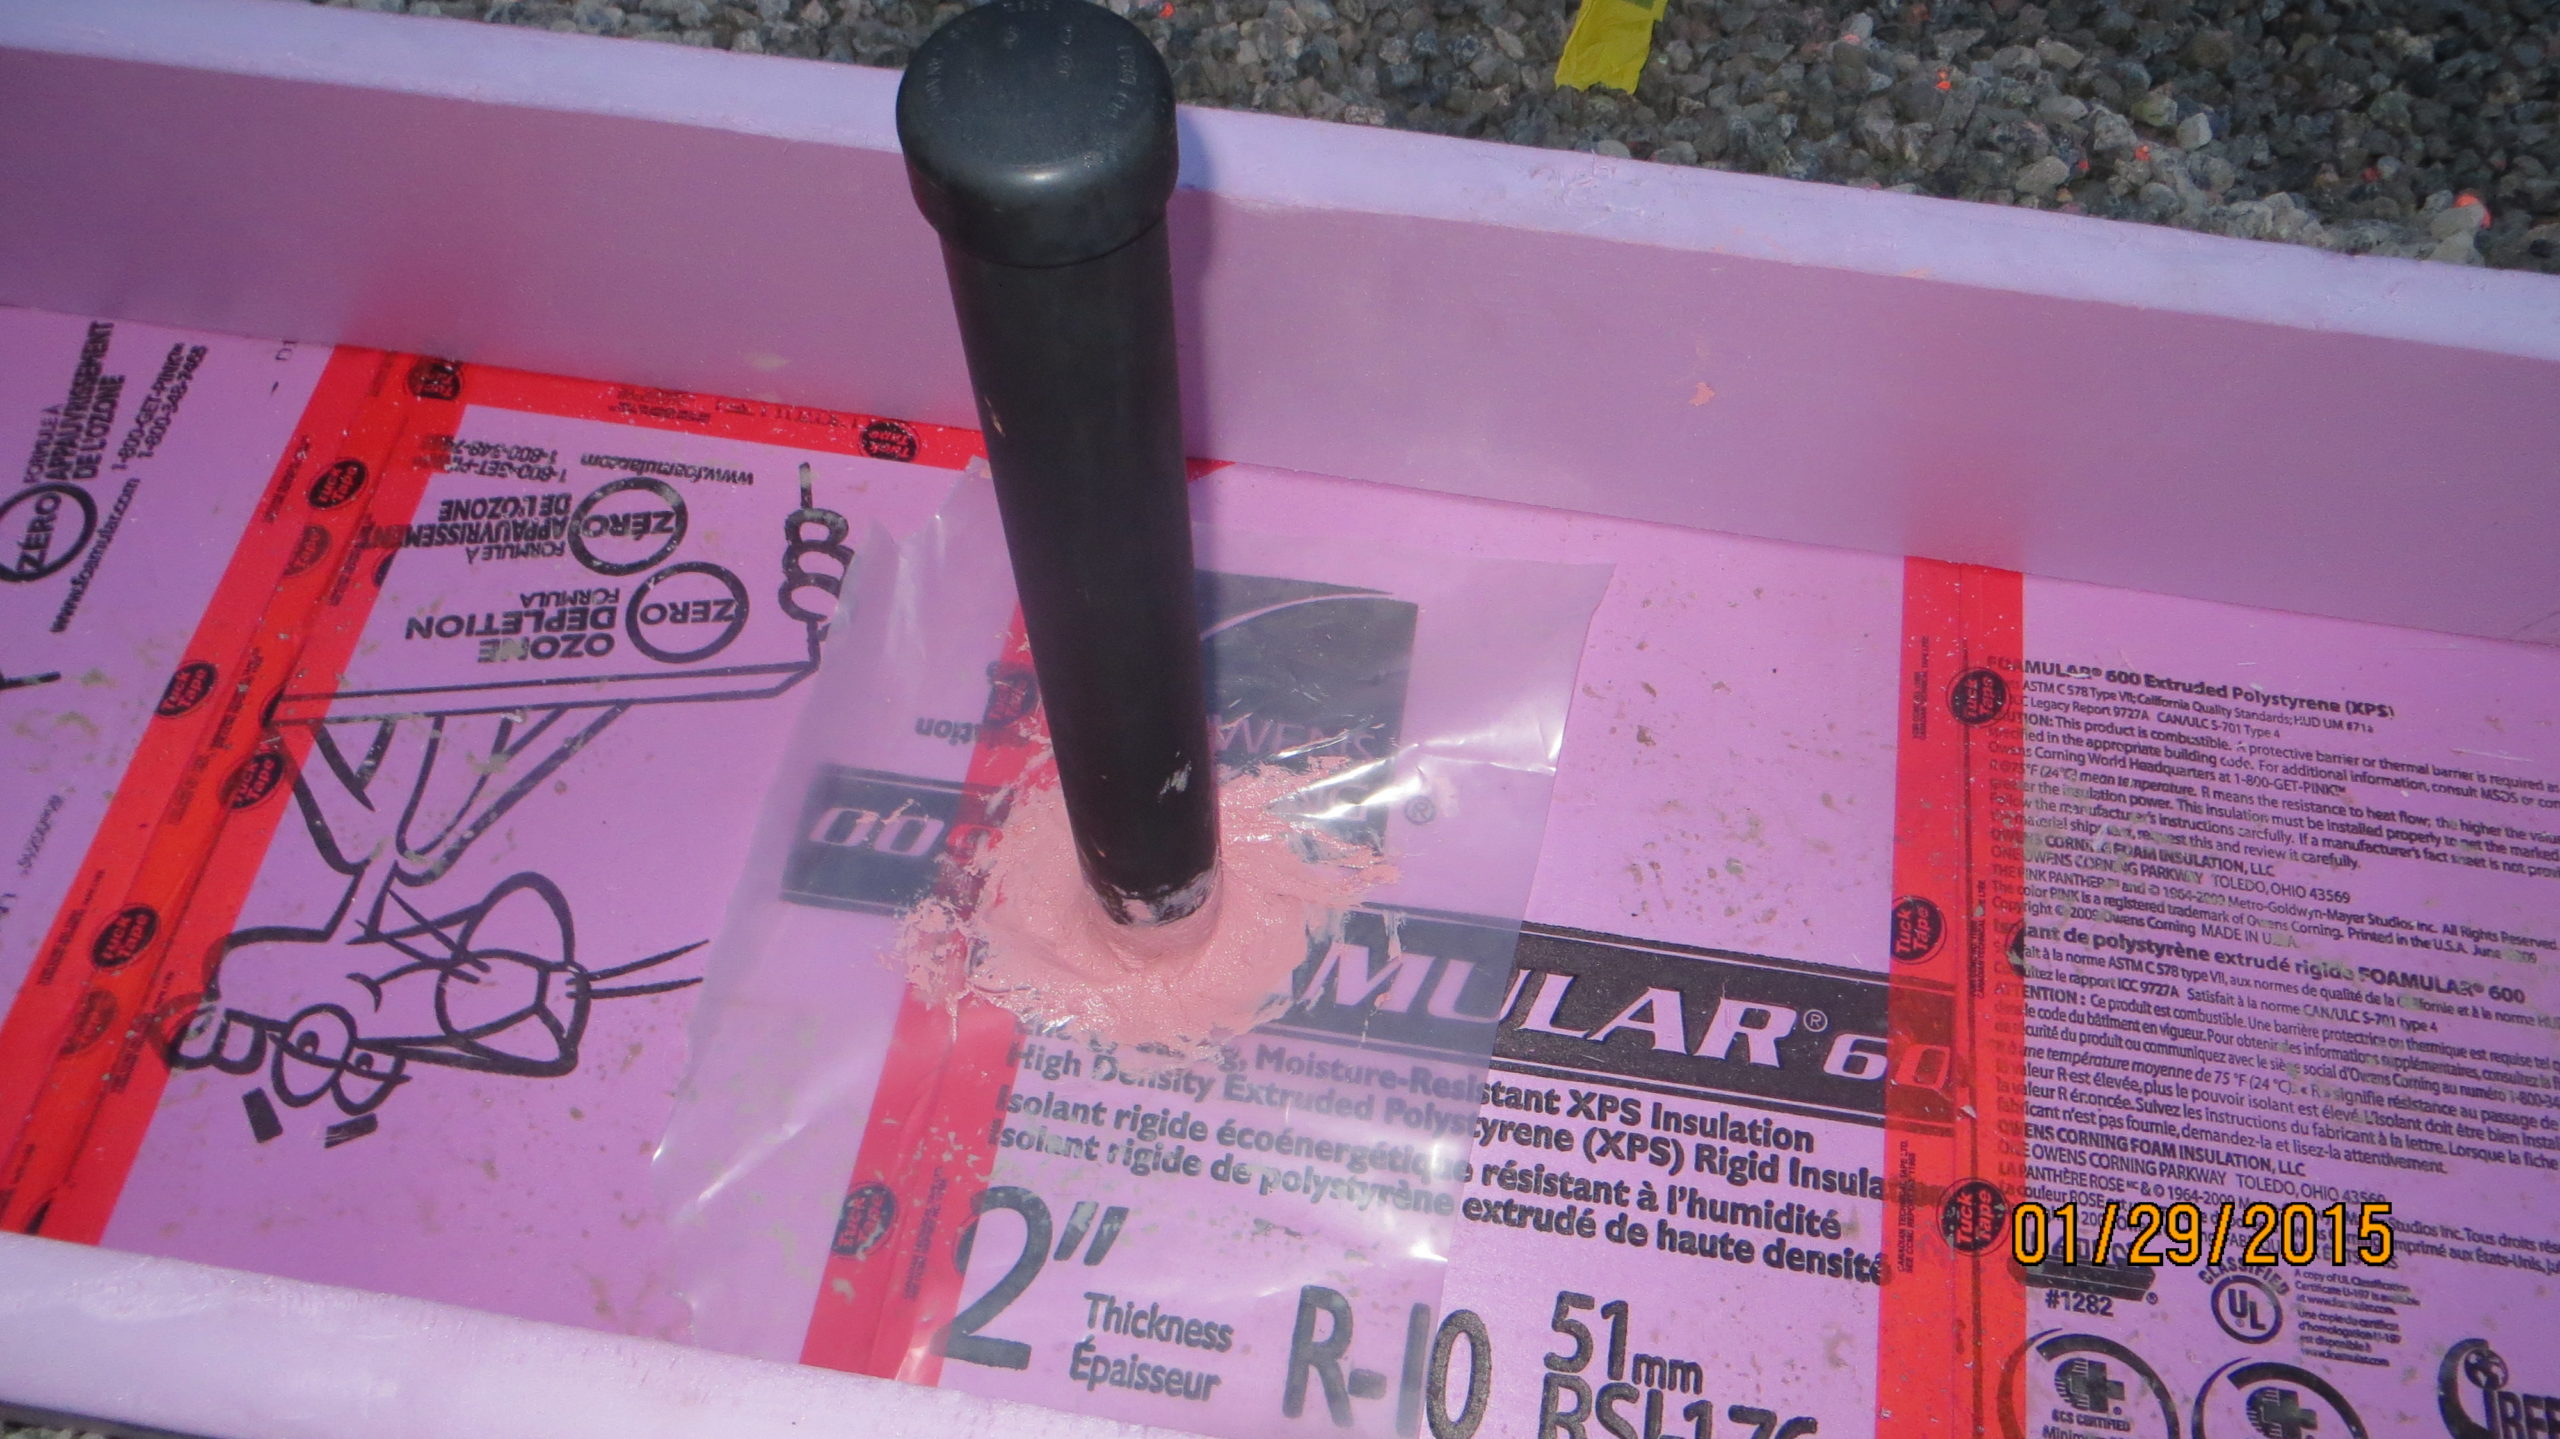
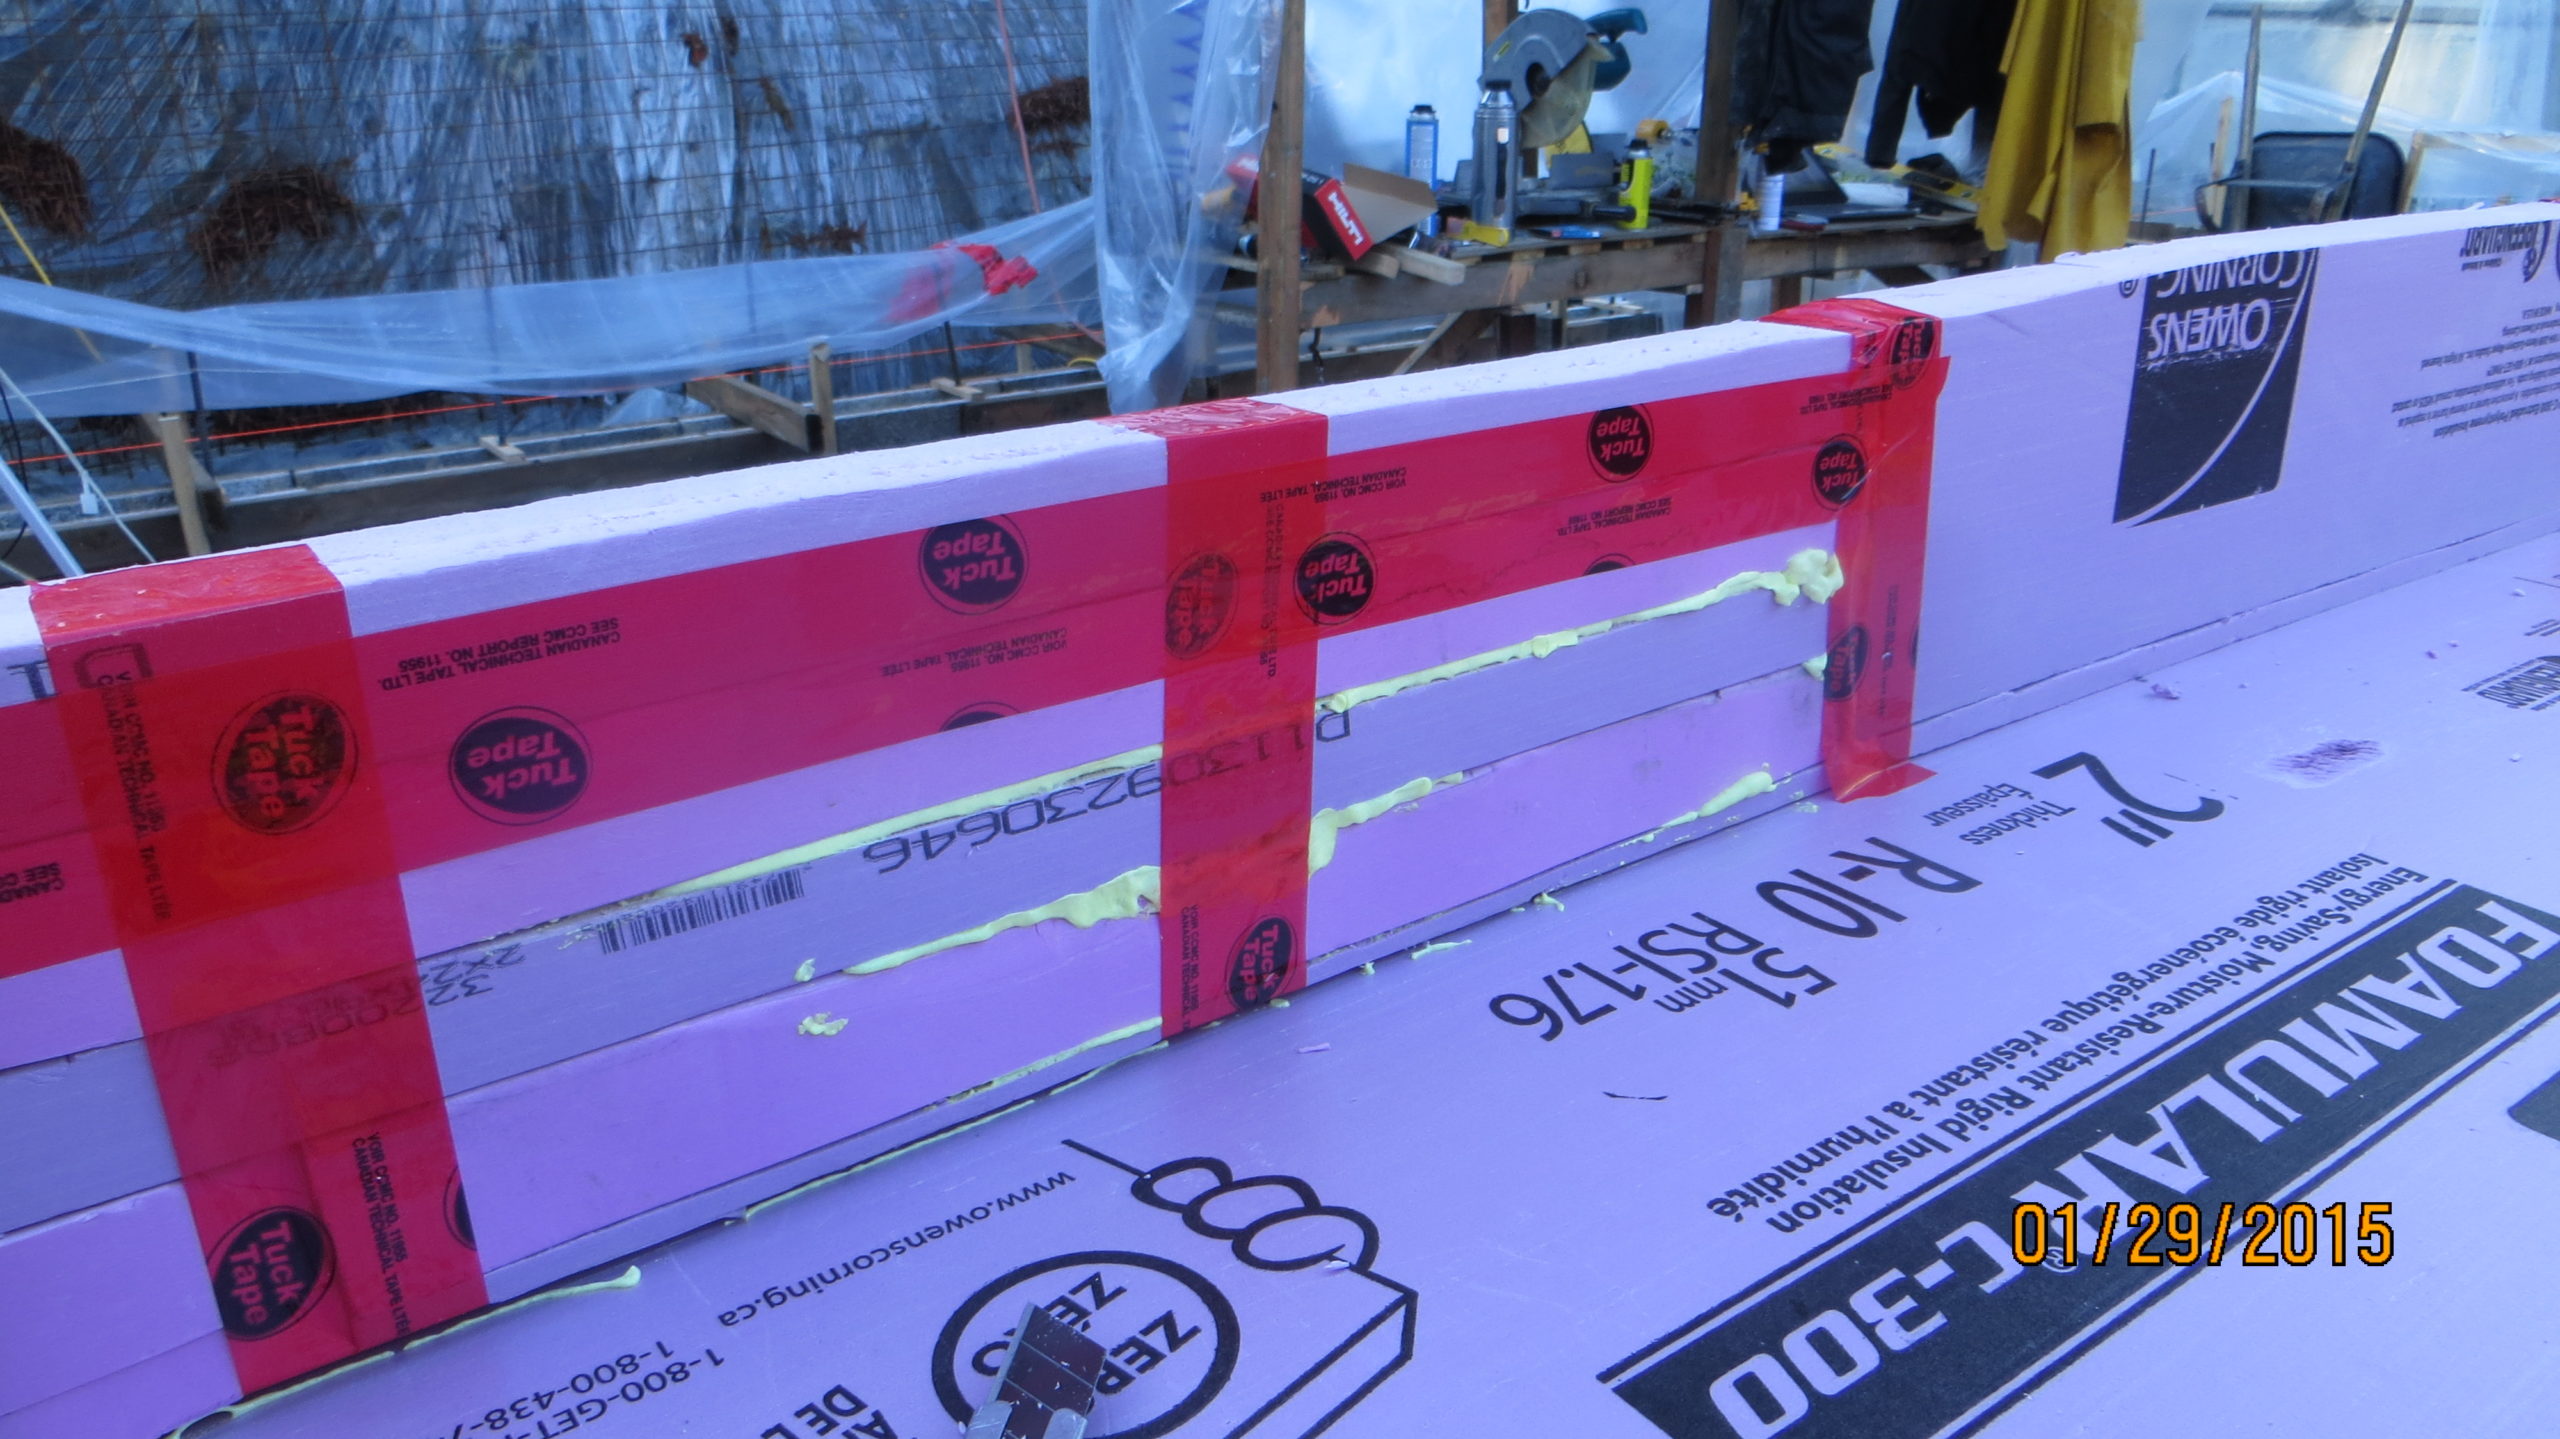
This week has been all about getting the footing forms finished so I can have inspected and pour this coming week. Wednesday and Thursday saw the basic XPS forms in place for the internal strip and pad footings. Friday I lined the forms with Poly (rising damp barrier and air barrier) and started installing the lumber bracing for the XPS foam forms. Saturday saw the end of the bracing and the majority of the curb forms built and leveled. Today I even snuck in a ‘quite’ couple of hours to finish the basic curb forms in time for engineering inspection tomorrow. I also placed most of the 2×4’s I will use as cleats at the bottom of the ICF blocks to hold the fabric footing forms in place.


This week I hope to pour Thursday, but will be more likely Friday if I cannot get the District inspection setup for Tuesday.
If you have not had a chance, check out the Time Lapse Videos on my YouTube ‘Roving Cam – Time Lapse’ channel. I have now processed from the very beginning of the tear down to the end of Jan 2015 and posted these on a monthly basis. Each video has a description of the major activities that took place that month.
Thanks for visiting.

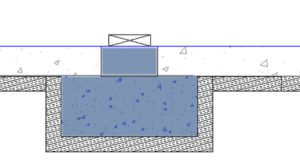
How did you pour the interior footing with curb? Did you go one pass to fill the footing then (after a wait) pour the curb part? I will be doing something similar and wonder if the concrete will come out of the bottom of the curb. Thanks
Hi Ray – Good question. Yes I poured my footing and curb at the same time. As you suggest, you pour the base of the footing first and then by the time you get to the end, it should be setup enough to pour the stub portion without pushing out. This is a very common pour style (for instance they do this on step foundations and stairs as well). If you do not have a large enough volume of footings to pour, it probably makes sense to have some accelerant chemicals in your concrete mix so it sets up fast enough (probably cheaper than crew and pumper truck sitting around 30-45 minutes to let it set-up if not accelerated).
Here is a photo showing my formwork. Only thing I would change is to elevate the cross ties on blocks, so the placers can get the concrete smooth past this location. I had to do some patch work once the cross ties were removed.
Thanks Sean for the closeup photo: a picture is worth thousands of words… I’ve been enjoying your blog; thank you taking the time writing it–very helpful to me.
Ray – thank you so much for letting me know that my efforts have been useful. It is always great to hear from people ‘out there’ and know that the work to maintain the site is useful. Take care and thanks for subscribing to the journal!