Footings Continue
Yesterday I was only able to finish the jog in the footings by the NW corner and place one module on the North wall. This was a disappointing effort brought on by a series of brain farts.
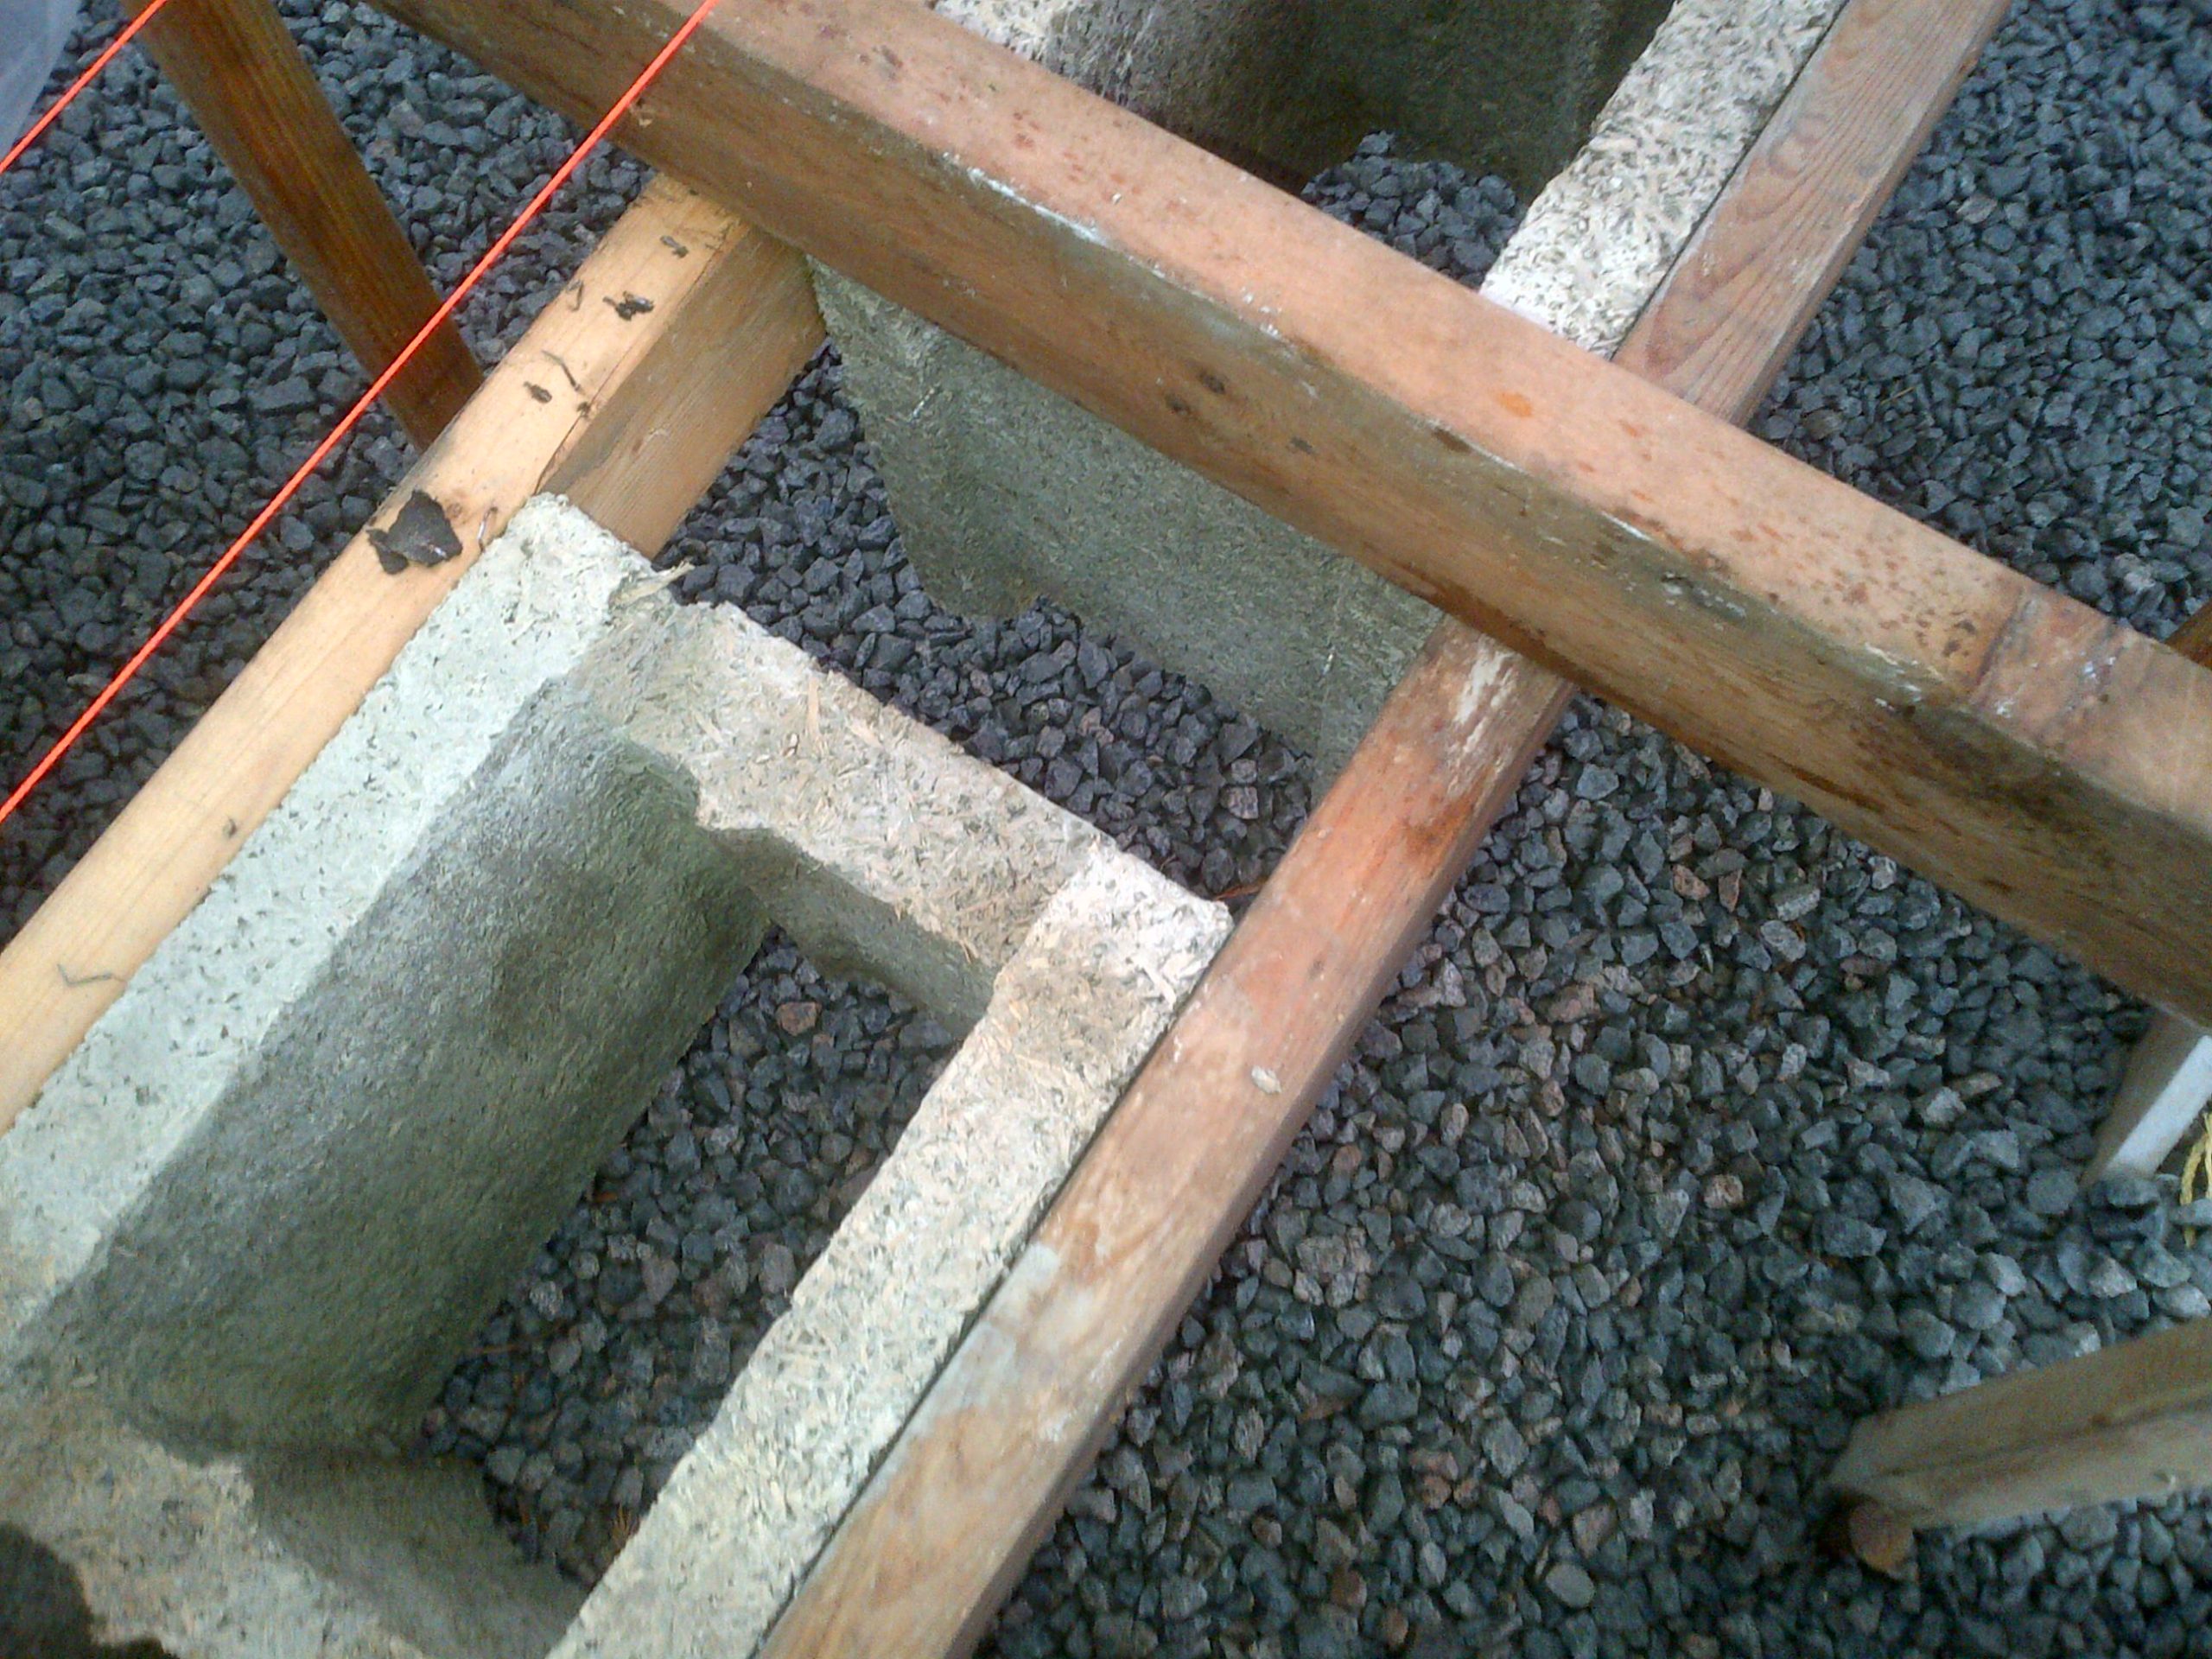
I was laying out the first of the legs of the jog and for some reason did not ensure that a corner block was lined up with a string line before securing it and the other blocks to the cross braces. Problem was that one of the blocks was cut to fit so now it was too short. SO I undid everything and re-aligned and then cut some filler pieces to insert into the gap. When I had this complete and all re-attached to the cross braces and started on the next leg, I realized I had aligned to the wrong string line! The ICF block was lined up with the edge of the footing instead of the foundation line. SO I had to undo everything yet again, and this time I took out the cut block and filler pieces and put in a full block and a small filler. I was SO frustrated.
Then I was hoisting the first module for the North wall into place, I had forgotten to put the pads on the feet. But when I re-lifted with Alfie, I somehow screwed up the joystick controls and ended up smacking the module with the bucket and sending it flying. I had to lift the whole thing back to the I-Beam and reassemble as I had ripped off two feet and broken a corner of a block. I was tired and hungry, as well as a bit dopey from the pain meds – and was clearly off my game. The mistakes cost me about 2.5 hours and with the shorter day, I was well behind my goal of completing most of the North Wall.
Today I spent some time in the morning looking at door photos on line and deciding on a door design for the basement walkout (I will probably build my own door, sandwiching a 2″ slab of XPS between 2″ thick strips of T&G cedar that I will have milled out of the tree stump by the road). I then designed the installation details around the ICF and exterior insulation. With these new details, I was able to calculate the exact dimensions for the opening required in the ICF wall and headed to site to translate that to the next module.
Once at site I secured the last module I placed last night and then build, placed and secured the next module that included the beginning of the cutout for the door (photos to come). This all required the raising of the string lines as they were hitting the cross braces. Again, not the progress I hoped for, but at least I did not do anything stupid today!
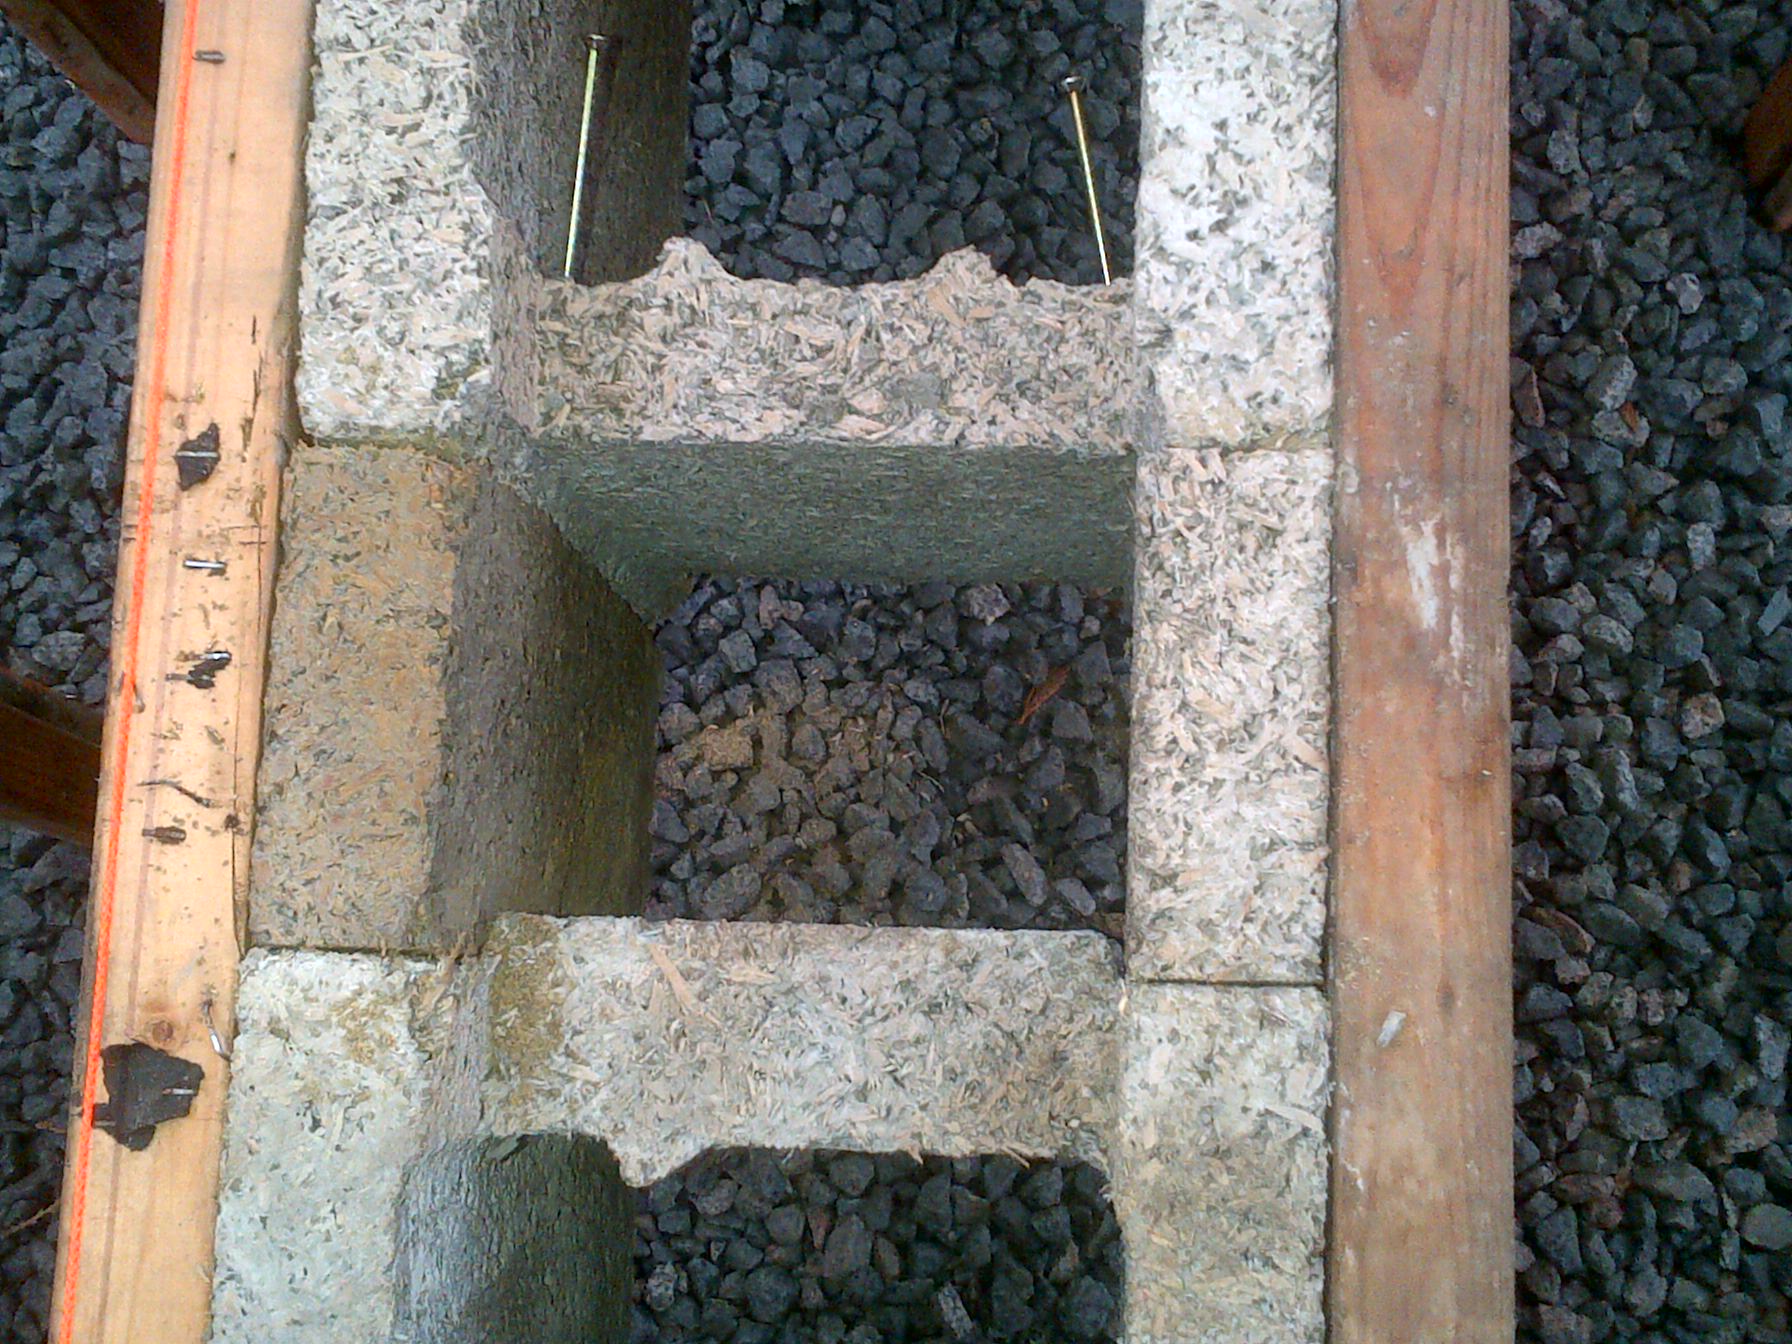
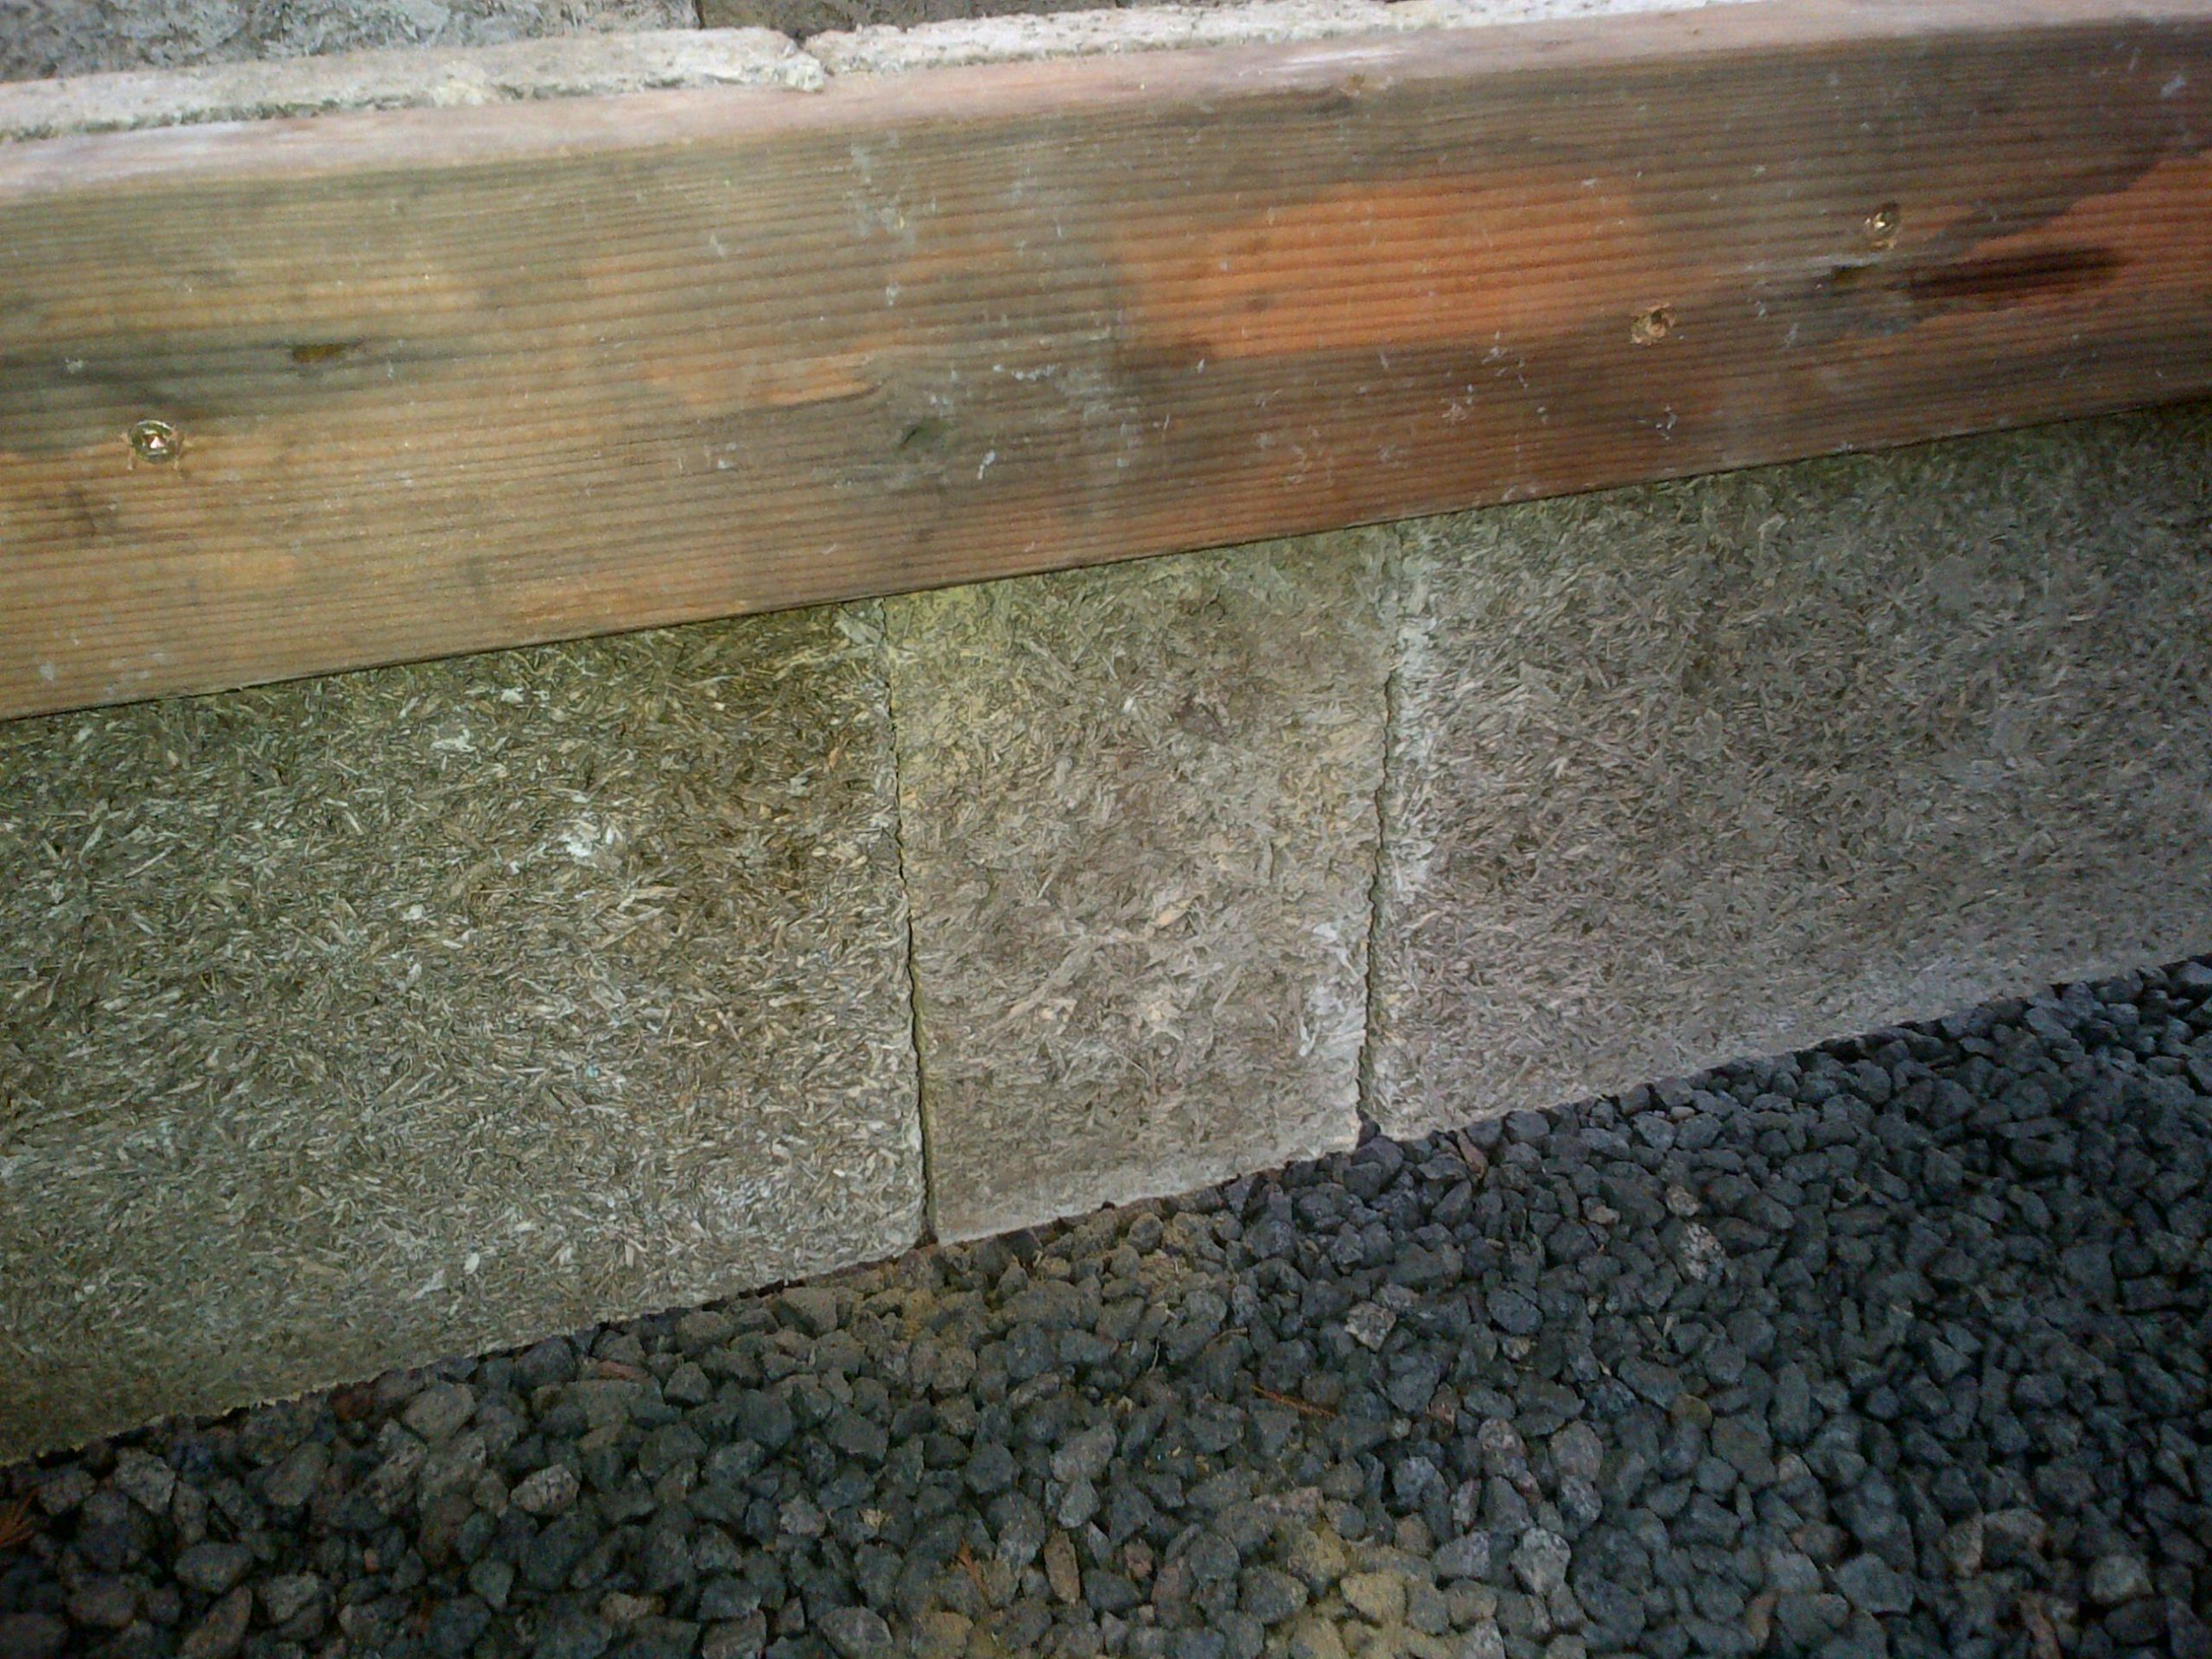
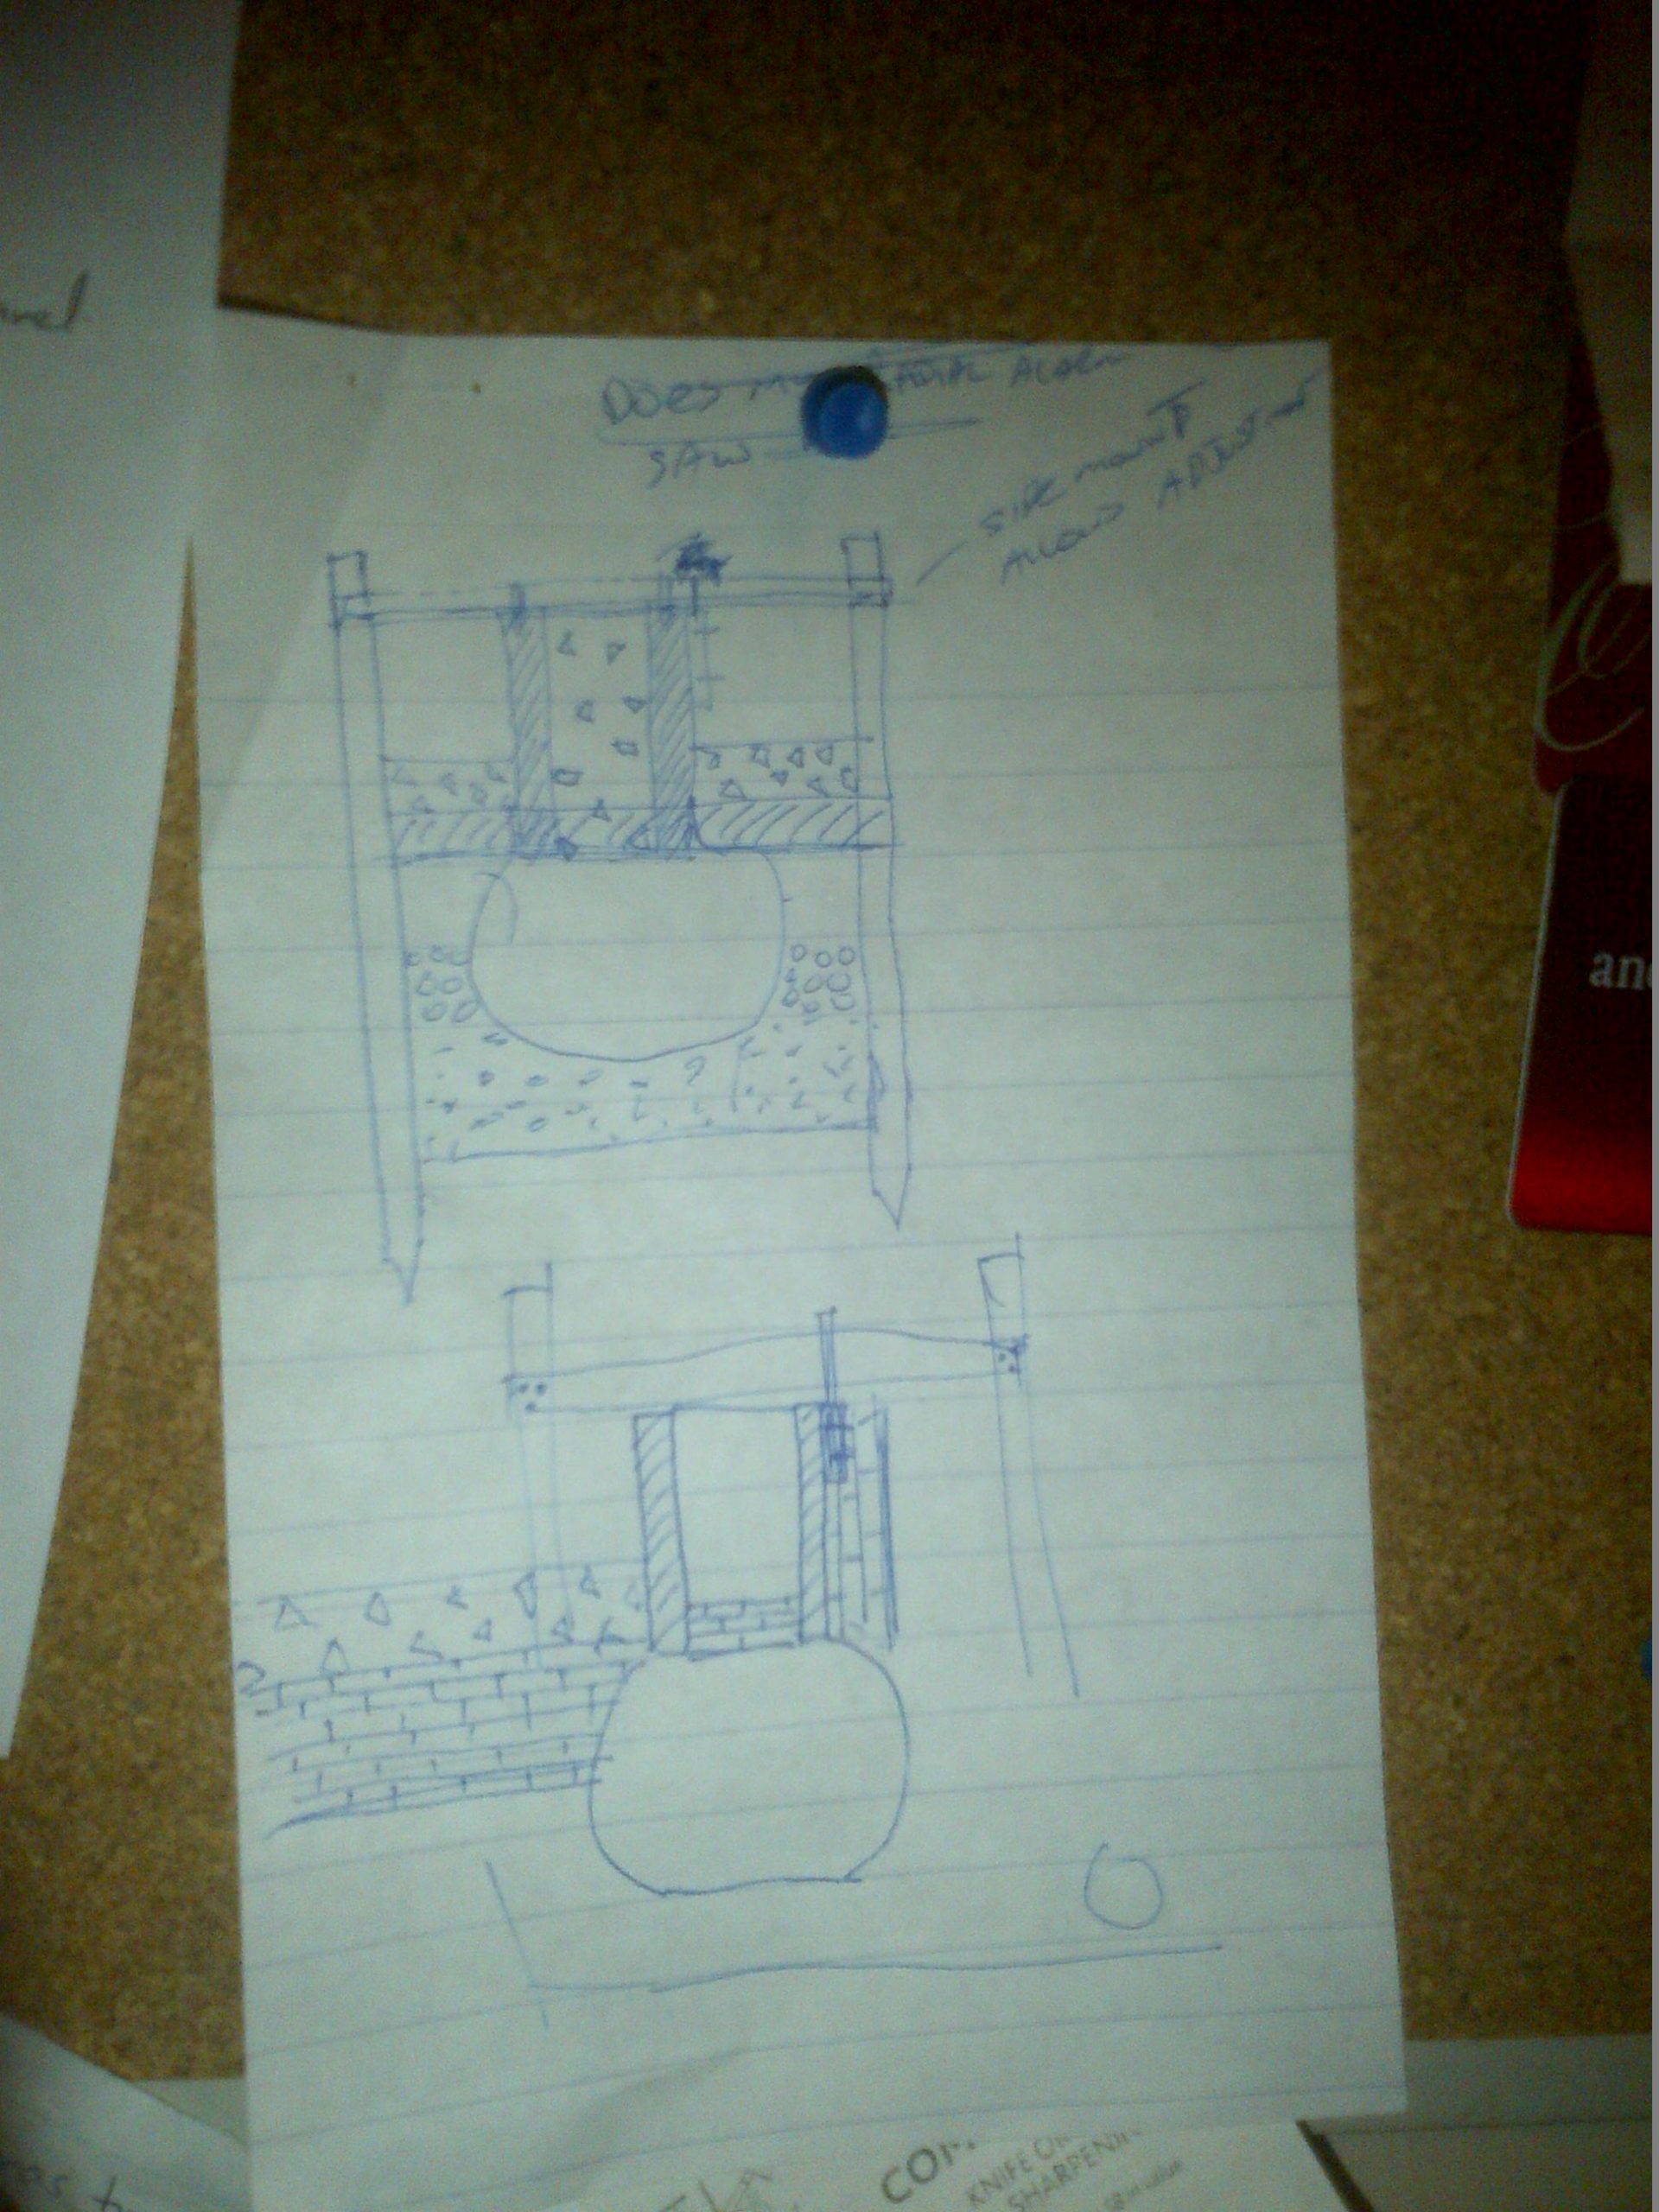
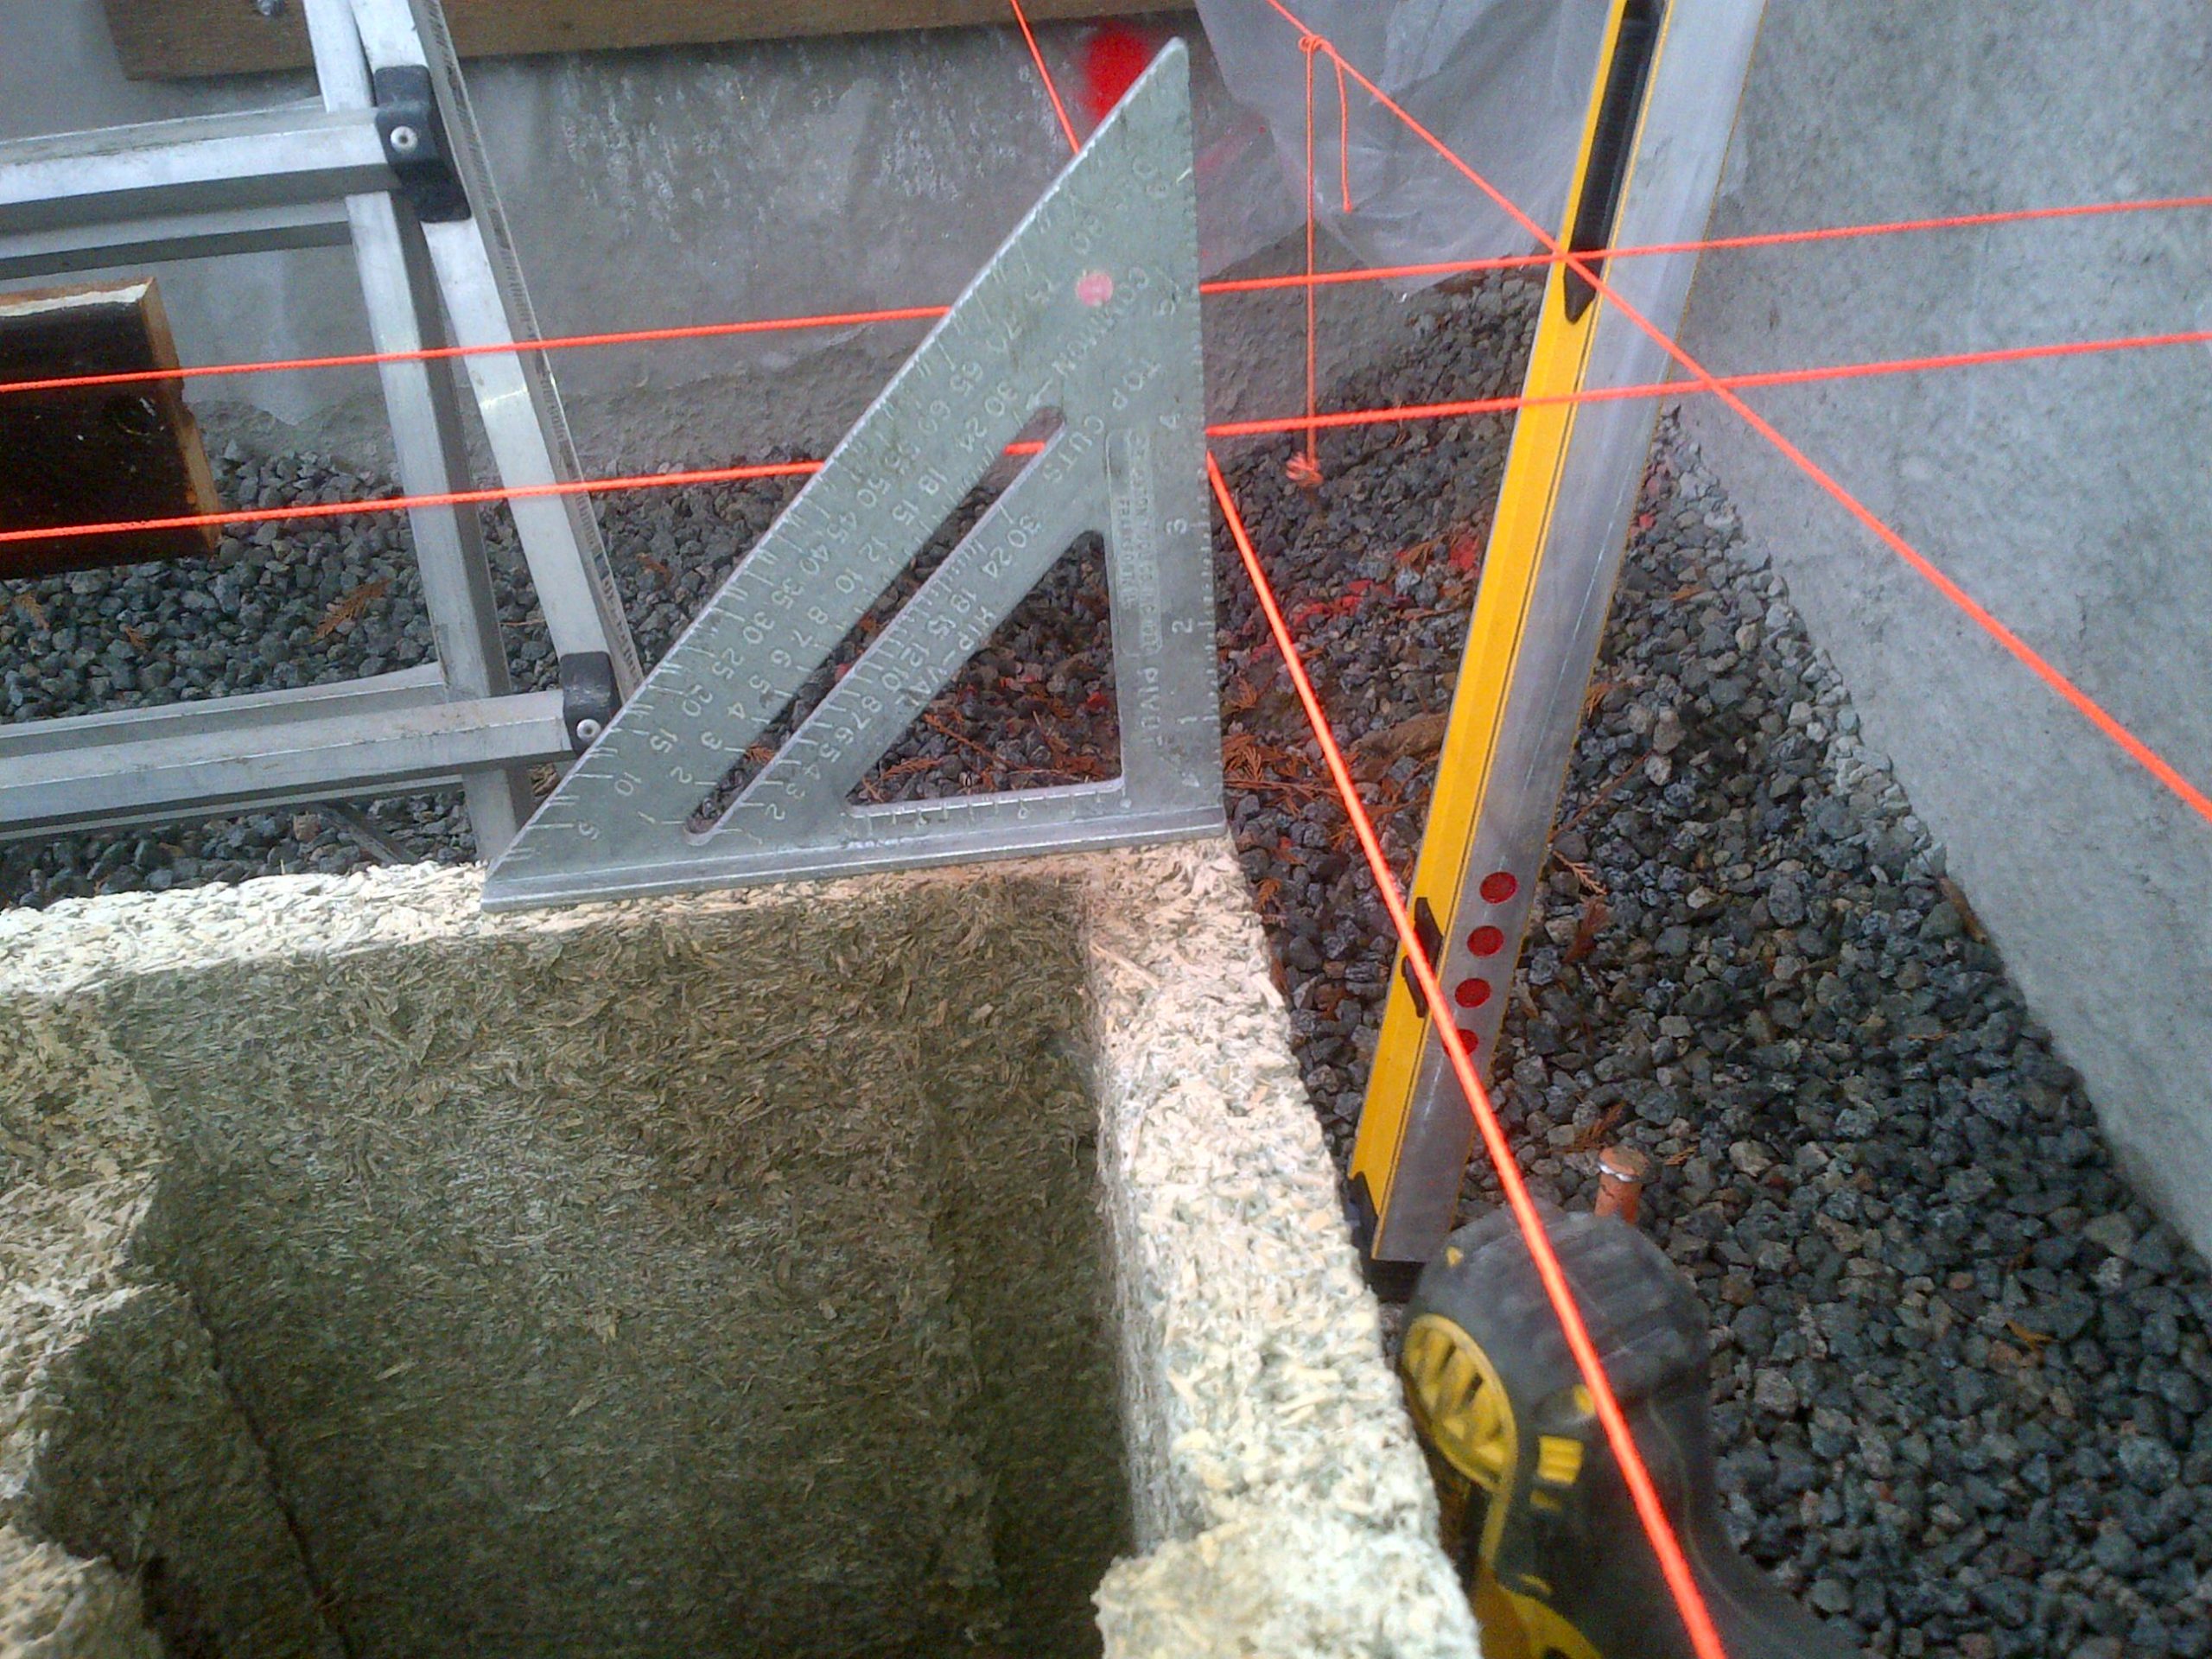
I had a reader ask about the adjustment feet and what happens when you do not have a multiple of 3ft on your dims. Here is a series of photos to explain.

So you have a gap – here is what I do.
Step 1 – Secure blocks on both sides and measure gap.

Thanks for visiting.

